Now cutting off giant chunks of a piece of silver you are supposedly forging into a utensil probably goes against all sorts of time honored standards of metalworking, but I had the piece to the length I wanted and to get the neck of the handle to the narrowness I desired called for some bending of the rules. So off they go.
I placed one of my hammers in the vise in order to give me a surface to beat upon that matched the hammer face I was using. This moves along the process much faster since you are working from both sides at once. After some further hammering to define and round the neck I was pleased with the results.
Once I was satisfied with the design hammered onto the piece I used masking tape to protect it while I work on the rest of the fork. When the design for the prongs were drawn out on paper, I then transferred it to the fork with marker. Some scotch tape across the face of the fork allows me to proceed without worrying about accidentally smearing it off the silver as I cut out the sections between the prongs with a jewelers saw, then file and sand them down. Make sure to keep plenty of metal on the tips of the prongs because the final buffing and polishing will remove a lot of metal and refine them to sharp points. Too little metal and they will be short and blunt. Not good, unless that's what you want.
Once finished the piece should display certain structural decisions. After spending some time studying historical examples of forks I realized the shape and quality of the prongs have been given a lot of consideration by previous silversmiths. There is a lot going on there if you look closely. The front of the prongs are only slightly angled inward, the sides are filed down bring them to a point, and the back is more sharply angled than the front. All these things result in the tips being flat yet very sharp when the polishing is finished.
At the base of the channels between the prongs I've filed out small pointed grooves into the face and back of the fork because after looking at so many other examples these seem to occur over and over again. I haven't come up with a functional reason as to why this is, but I thought I would attempt it and see if something came up during the process. Nope. The question still remains. The middle channel has been elongated past the two side ones as a simple design element.
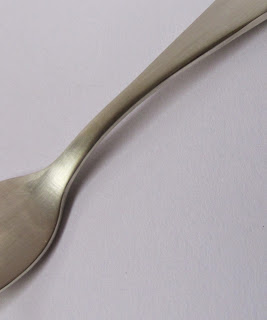
The arch of the neck is graceful and gives you an easily accessible handle to pick it up off the table with, and the base of the fork lifts slightly up to provide it with a little flair. The last was just a personal decision and not standardized by any means.
As frustrating as this is I think the handle at least is salvageable. After lopping off the head of the fork I'll just have to rework the design of the face and prongs and figure out how to incorporate it gracefully into another piece. Or there is the possibility of dumping silver solder into the cracks, melt it, then file away the excess to conceal the cracks. It wont be good for heavy lifting, but reasonable enough for display. I will have to figure out which method I can use to save the work. Until then I'm hoping to go to Stephan's studio and use his equipment and expertise to help scrap my ingots and mold some healthy ones so I can continue my work.


No comments:
Post a Comment